
Overview
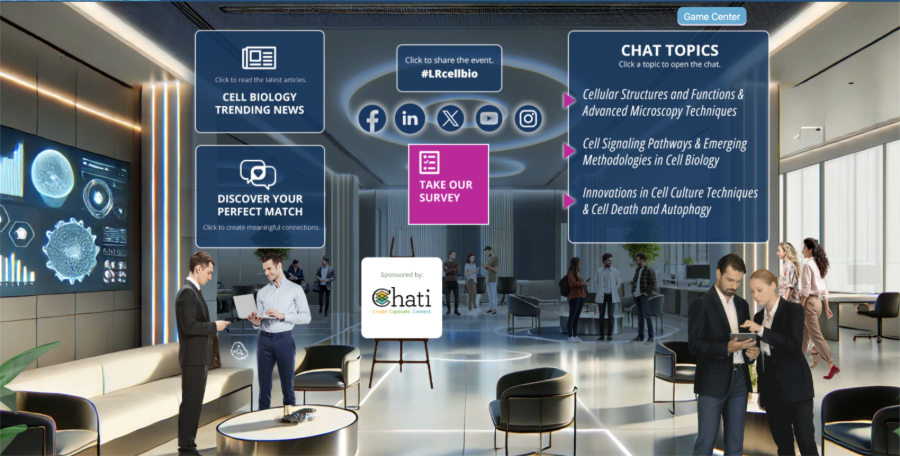
This comprehensive guide covers how to add chat functionality to Spaces in Chati. Chats are essential for creating interactive virtual event experiences, and are commonly used in help desks, networking spaces, and exhibitor booths. This guide focuses on the critical considerations for desktop-to-mobile compatibility and the two main approaches for implementing chats.
Looking to get started quickly? Check out the quick start guide for adding group chats to spaces.
Key Concepts
Two Approaches to Chat Implementation
- Inline Chat Components - Built directly into the Space template
- Content-Based Chats - Added as space content
Method 1: Template-Based Inline Chats
When to Use
- For single chat rooms that don't require multiple separate conversations
- When you want the chat to be permanently visible on the page
To add an inline chat to your space, click Add Content, find the inline component section, and select Chat. Note: spaces may only have 1 inline chat.
How It Works
Method 2: Content-Based Chat Implementation
Step 1: Create Chat Content Features
- Navigate to Spaces in your event panel
- Select your Space and go to Content
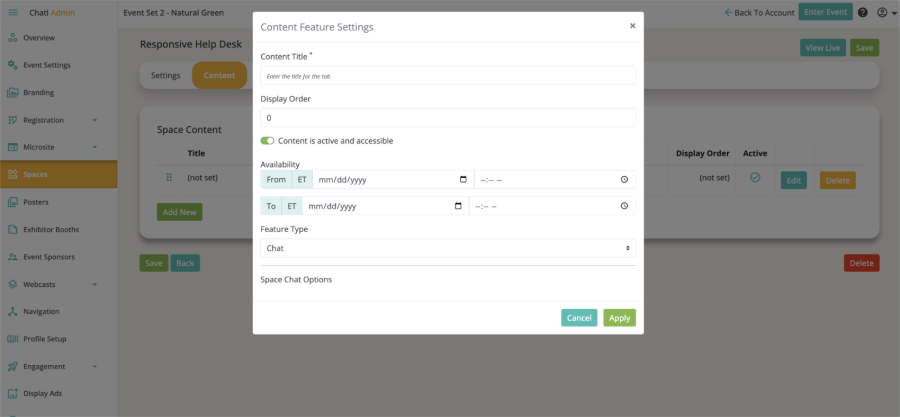
- Create a new content item:
- Content Title: Enter a descriptive name (e.g., "General Discussion", "Help Desk Chat")
- Display Order: Set the order for content tabs
- Feature Type: Select "Chat" from the dropdown
- Availability: Set date/time ranges if needed (if no availability is specified, the chat will always be available)
- Toggle "Content is active and accessible" to enable
- Apply and Save the content
Step 2: Link Chats in Booth Content
Since content-based chats appear as tabs on mobile/tablet, you'll need to create access points in your booth content for desktop users.
- Launch the booth editor for your Space
- Add interactive elements to link to your chats:
- Hotspots: Invisible clickable areas over graphics
- Buttons: Visible call-to-action elements
- Images: Clickable graphics with chat prompts
- Configure the link:
- Click Action Type: Select "Booth Feature"
- Feature Selection: Choose your chat content
- Display: Select "Open in Modal" for overlay display

Step 3: Configure Responsive Content
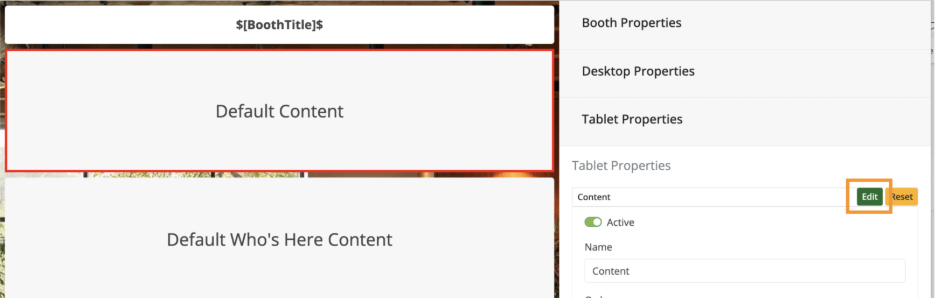
- Go to Responsive Properties in booth settings
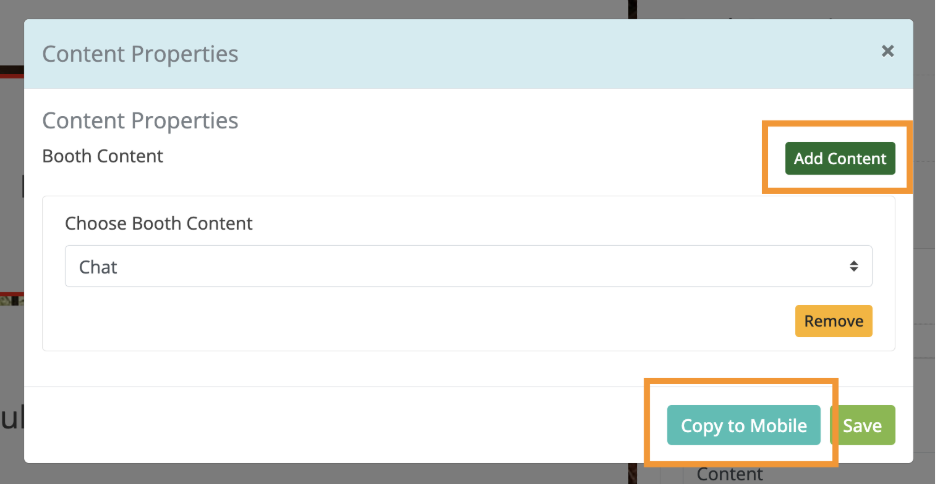
- Click Edit under Default Contents
- Add Content and select your chat feature
- Save all changes
Managing Multiple Chats
Creating Additional Chat Rooms
- Return to Contents in your Space settings
- Create additional content items with Feature Type "Chat"
- Use descriptive titles like "Technical Support", "Networking Lounge", "Product Questions"
- Add corresponding booth elements (hotspots, buttons, images) for each chat
- Link each element to its respective chat content
- Update tablet and mobile content to include all chat options
Best Practices for Multiple Chats
- Use clear, descriptive names for each chat room
- Create visually distinct access points in your space design
- Consider the user journey and logical chat room purposes
- Test the mobile experience to ensure easy navigation between chats
Group Chat Admin/Space Staff Features
Message Management
For Admins and Space Staff only:
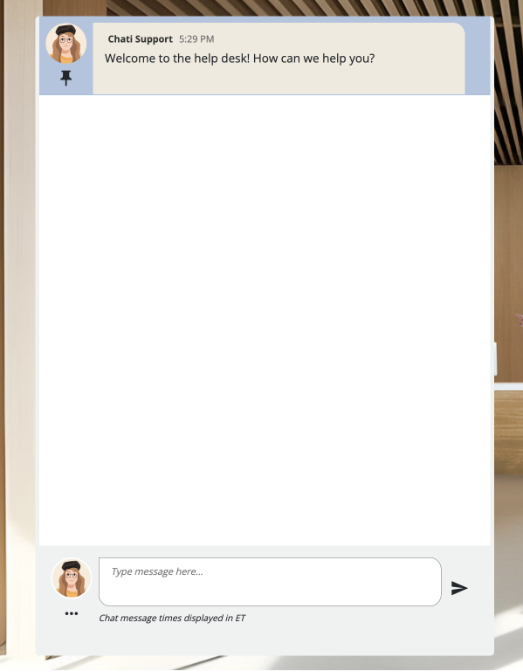
Pinning Messages
- Hover over any message to reveal admin options
- Click the pin icon (appears on the right side of the message)
- Pinned messages appear at the top with a blue highlight and pin icon
- Multiple messages can be pinned at a time
Common Use Cases for Pinned Messages
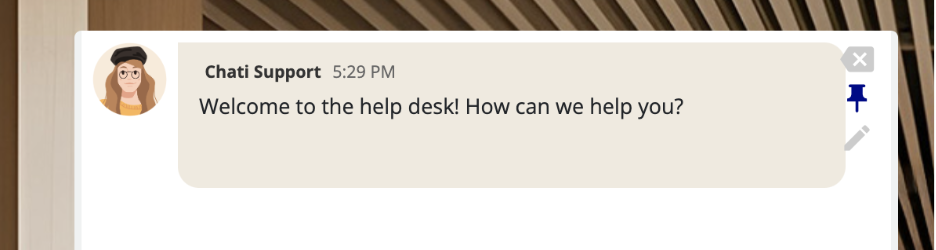
- Welcome messages: "Welcome to Technical Support! Please describe your issue."
- Chat topic guidelines: "Use this space to discuss networking opportunities."
- Important announcements: "The session will begin in 10 minutes."
- Help desk status: "This help desk is currently unmonitored. For immediate assistance, email support@company.com"

Deleting Messages
- Click the delete icon when hovering over messages, this action cannot be undone
- Reporting Note- deleted messages are included in reporting along with who they were deleted by
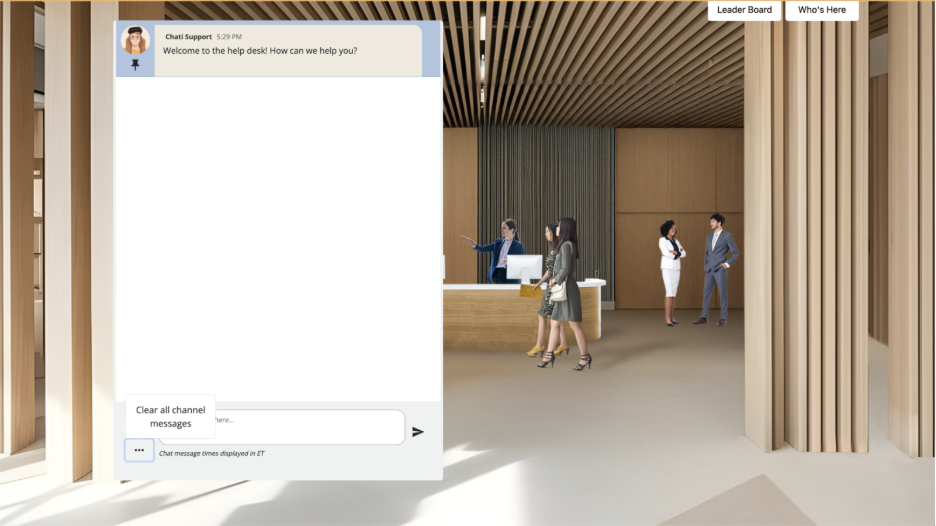
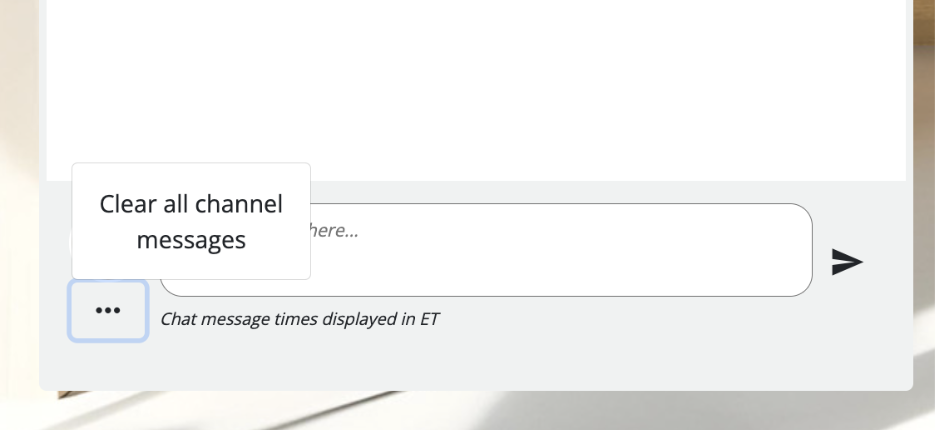
Clearing All Messages
- Click the three dots (menu) icon in the chat interface
- Select "Clear all channel messages"
- Warning: This removes ALL messages including pinned messages and cannot be undone
Available for staff and attendees:
Editing Messages
- Click the pencil (edit) icon when hovering over messages
- Modify the message content in the text field
- Save changes - edited messages show "last edited" timestamp

Troubleshooting Common Issues
Multiple Chats Not Working Properly
- Ensure each chat has a unique, descriptive title
- Verify that all booth elements are properly linked to their respective chat content
- Test that mobile/tablet content includes all necessary chat options
Pinning Issues
- Refresh the chat interface if pinned messages don't appear correctly
- Check that you have admin or space staff permissions
Desktop vs Mobile Inconsistencies
- Avoid using inline chat components if you need multiple separate chat rooms
- Test thoroughly on all device types before launching your event
Emoji Options
- If you need to update emoji availability in chat, this is adjusted at the event level under Event Settings--> Options
- None — Emoji reactions are disabled entirely for the event.
- Basic Set — A curated selection of 5 emojis: 👍 thumbs up, ❤️ heart, 😊 smile, 🎉 celebrate, and 😂 laugh. A good choice if you want to keep reactions focused and fast.
- All — Full emoji access is enabled. This is the default. Explicit and inappropriate emojis have been removed from this set regardless of selection, so you don't need to worry about moderation.
Best Practices Summary
- Use the content-based approach for maximum flexibility
- Create clear access points in your space design for desktop users
- Use descriptive names for multiple chat rooms
- Test on all device types before going live
- Pin important messages to guide conversations
- Train your team on admin features for effective chat moderation
- Consider user experience when designing chat access points
This approach ensures your chat functionality works seamlessly across all devices while providing the flexibility to create multiple, purposeful conversation spaces within your virtual event.