
Overview
This quick guide walks you through the essential steps to add chat functionality to your Chati Spaces.
Before You Start
Critical Requirements: Ensure your Space includes:
- Content Tab component on Responsive (enables content-based chats), OR
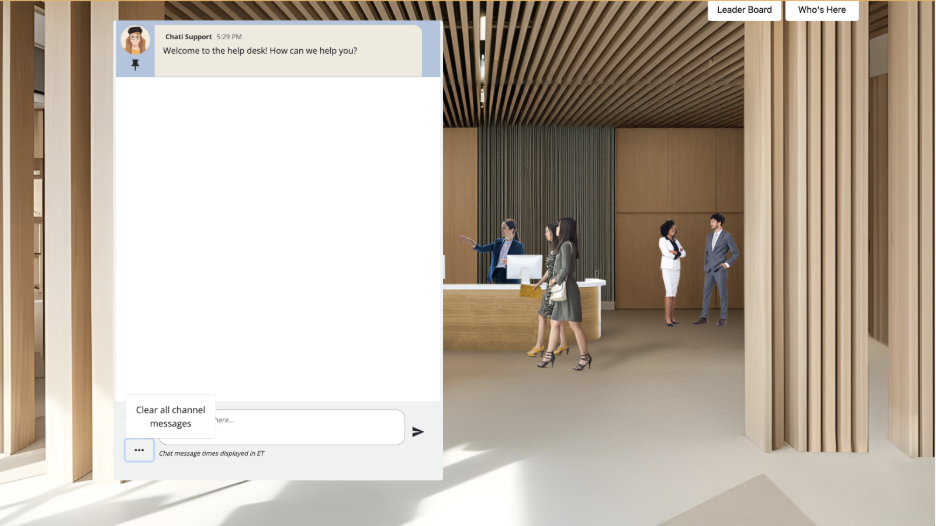
Responsive inline chat component
Without these components, chats will not work on responsive devices.
Step-by-Step Setup
Option 1: Add Inline Chat
- Select Space
- Launch Editor for your Space
- Add the Inline Chat Component to Desktop and Responsive Views
- Save - Your chat now works across all devices with synchronized conversations
Note: You cannot add more than one inline chat to a space.
Option 2: Content-Based Chat
1. Create Chat Content:
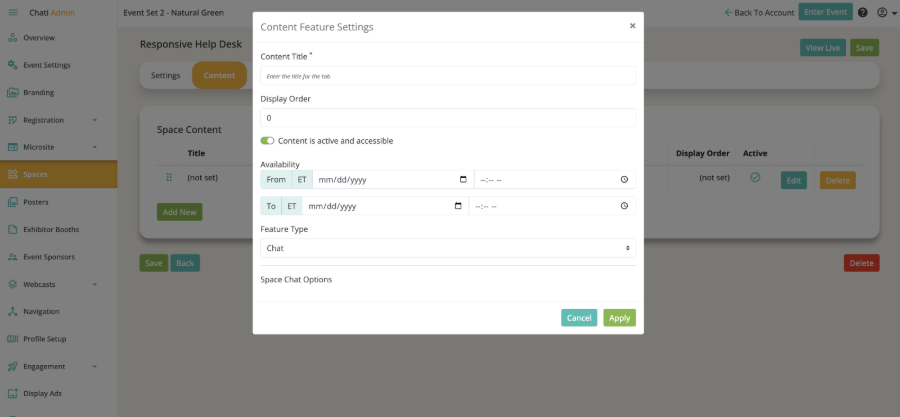
a. Go to Spaces → Select your Space → Content
b. Create new content with:
i. Content Title: Descriptive name (e.g., "General Chat")
ii. Feature Type: Chat
iii. Active: Toggle ON
c. Apply and Save
2. Add Desktop Access Point:
a. Launch Editor for your Space
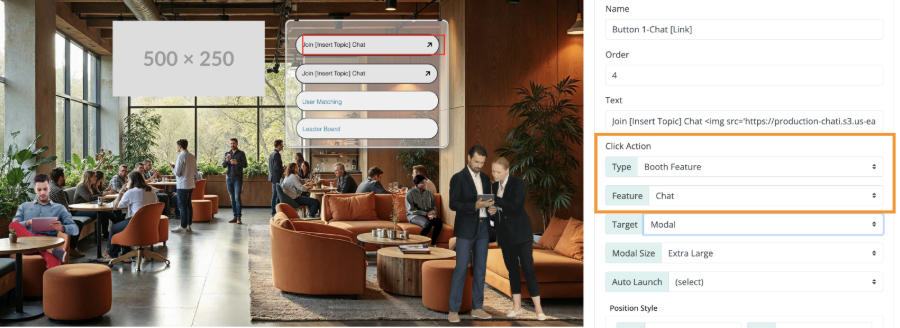
b. Add a Button, Hotspot, or Image
c. Configure click action:
i. Type: Booth Feature
ii. Feature: Select your chat
iii. Display: Open in Modal
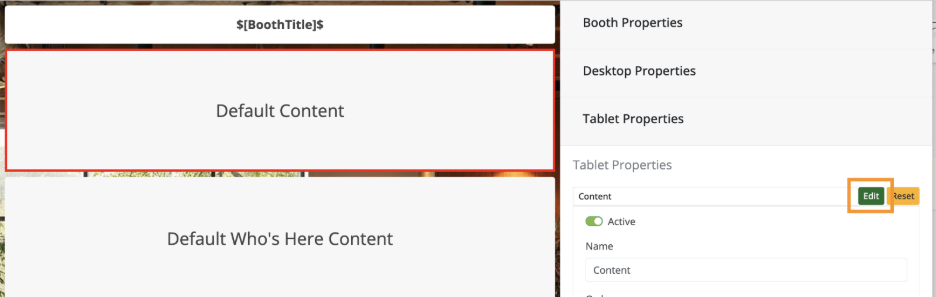
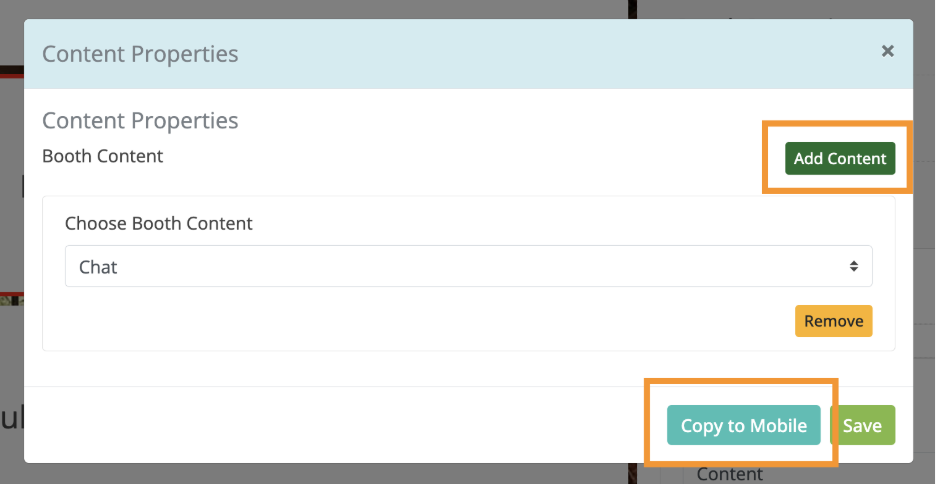
3. Configure Responsive:
a. Responsive Properties → Add Content → Add Content Tabs Component → Click Edit → Select your chat(s)
Which Option to Choose?
Use Option 1 (Built-in Inline Chat) if:
- You want a single, always-visible chat
- You prefer minimal setup
Use Option 2 (Content-Based Chat) if:
- You want multiple separate chat rooms
- You want more control over chat placement and access
Adding Multiple Chats
For Option 1 (Built-in Inline): Not possible - only one chat room for inline
For Option 2 (Content-Based): Repeat the content creation process with different Content Titles and create separate access points for each chat room.
Looking for more detail? Check out the Complete Guide: Adding Chats to Spaces in Chati