
1. Click ‘Posters’ on Event Settings Panel
2. Click ‘Add New’
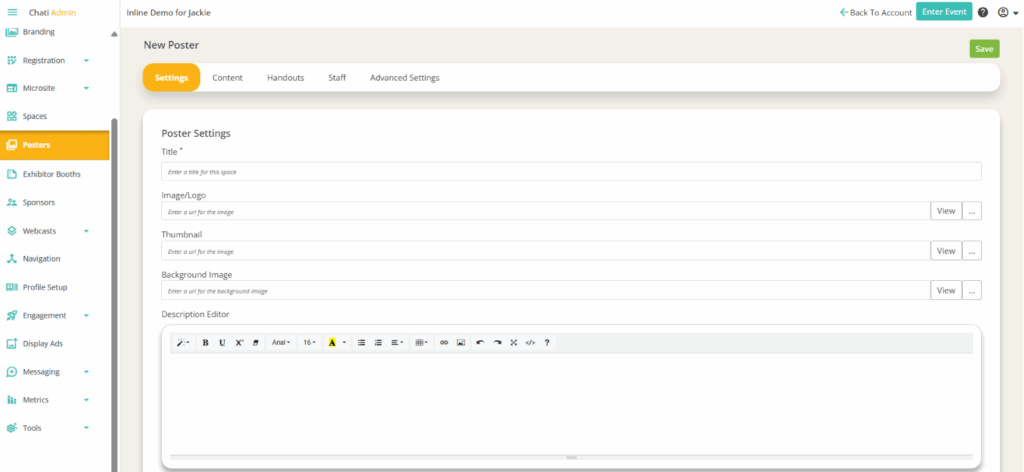
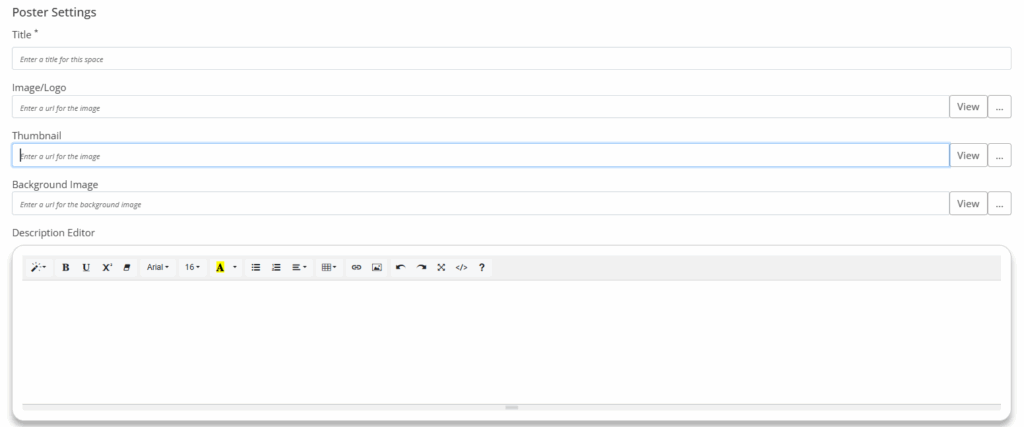
3. Within ‘Settings,’ provide a ‘Title,’ a screenshot of the poster in the ‘Image/Logo’ field, and a description or poster abstract within the ‘Description Editor’.
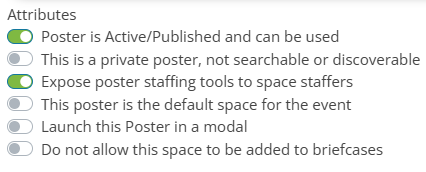
4. Set your poster ‘Attributes’
5. Optional: Add a message or abstract to the Message/Abstract Editor. This message can be added to the poster's content.
6. Optional: Change the display order for this poster. Posters with ‘0’ will appear in alphabetical order.
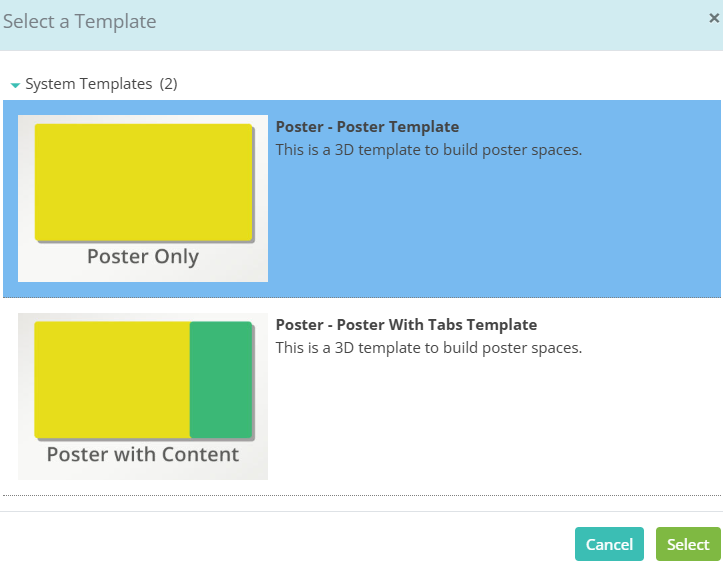
7. Scroll down to ‘Page Template,’ and click ‘Select’. Choose a template
- Poster – Poster Template (only shows poster)
- Poster – Poster with Tabs Template (gives you the option to add in additional poster content and features like chat)
8. Click “Save” at the bottom of the page. Reenter the poster listing, scroll down to ‘Page Template’ and click ‘Launch Editor’ (the Launch Editor button will not be visible until you .
9. Click on the PDF icon and select ‘Edit’ in the layers panel. Click the three dots on the right and upload the poster to the event files. Select and save the poster.
10. Scroll down to the bottom of the editor and click save.
Additional Options
Add Content & Handouts to a Poster
Learn how to attach extra content like text chat, author bios, or a contact form to make posters more interactive.
Adding Staff to Posters
Assign staff (typically the poster’s authors) to each poster and see how this improves attendee engagement and visibility.
Advanced Poster Settings
Explore optional features like availability dates.
Creating a Poster Hall
Add posters into a dedicated event space to build a virtual poster hall for attendees to browse.