
To add any asset to your event—such as images, videos, documents, or scripts—you’ll first need to upload it to your event’s file system. You can do this by navigating to the “Assets” section in your account panel, or by uploading directly from various areas within the event setup. For example, when selecting imagery, creating spaces, or adding handouts, you can click the three dots next to the file or image selection field to access the upload option.
1. Open a ‘Content Assets’ window
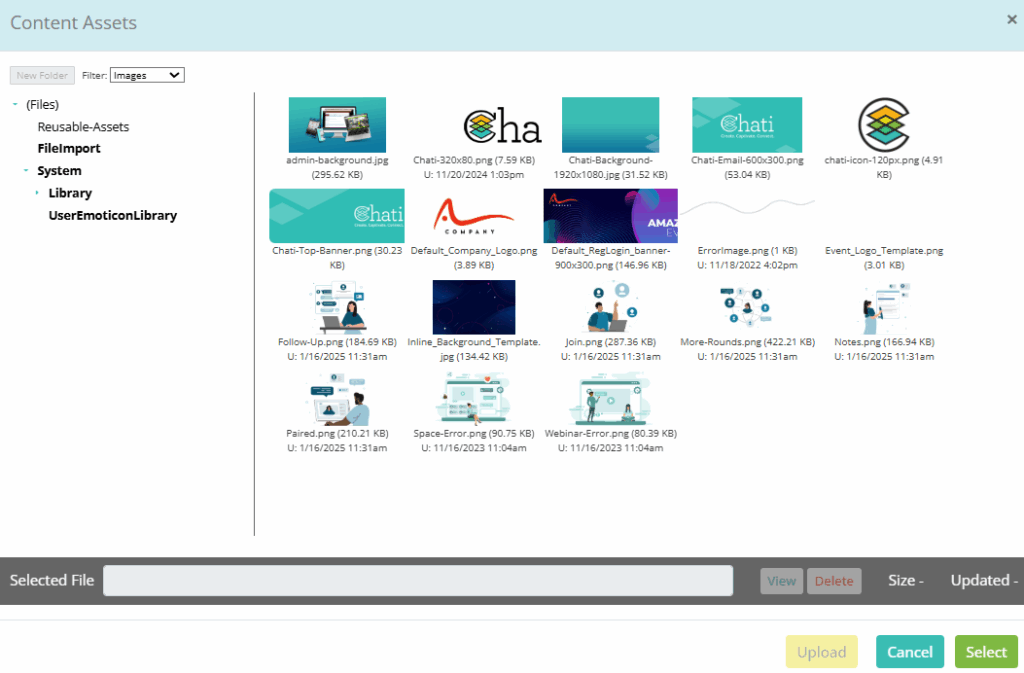
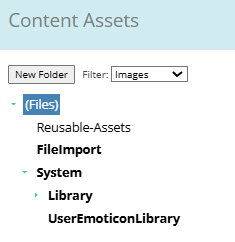
2. Click ’New Folder’ and enter new folder name. Click ’Create Folder’
a. Subfolders can be created
b. Folders will not save unless you upload at least one file
3. Click ‘Upload,’ then ‘Select some files’ Please note that files cannot be moved to different folders after being uploaded.
4. Once uploaded, select your file in the section you are looking to upload it to.
5. Click ‘Save’.