
1. Click ‘Event Settings’ on the Event Settings Panel, then the ‘Settings’ tab.
2. Under ‘Settings’ fill out the following:
- Title*
- Owner (whoever created the event will be listed as the owner by default)
- Login Method (determine how attendees login to your event)
- When selecting the login method email and password, be sure to include password creation in your event’s registration process.
- The login method “email address only” is the most used login method.
- Anonyms login requires no email or profile information, as such it will reduce tracking and reporting depth.
- Default Time Zone
- Default Language
- Approval Level (for internal tracking purposes only)
- Event Options (toggle on or off):
- Event is Published (if turned off, you will not be able to preview your event environment)
- Template Mode
- Test Mode
- Default Handout View
- Edit Locked
- Event Landing Page (first space that attendees are taken to within the event environment)
3. Click the ‘Options’ tab
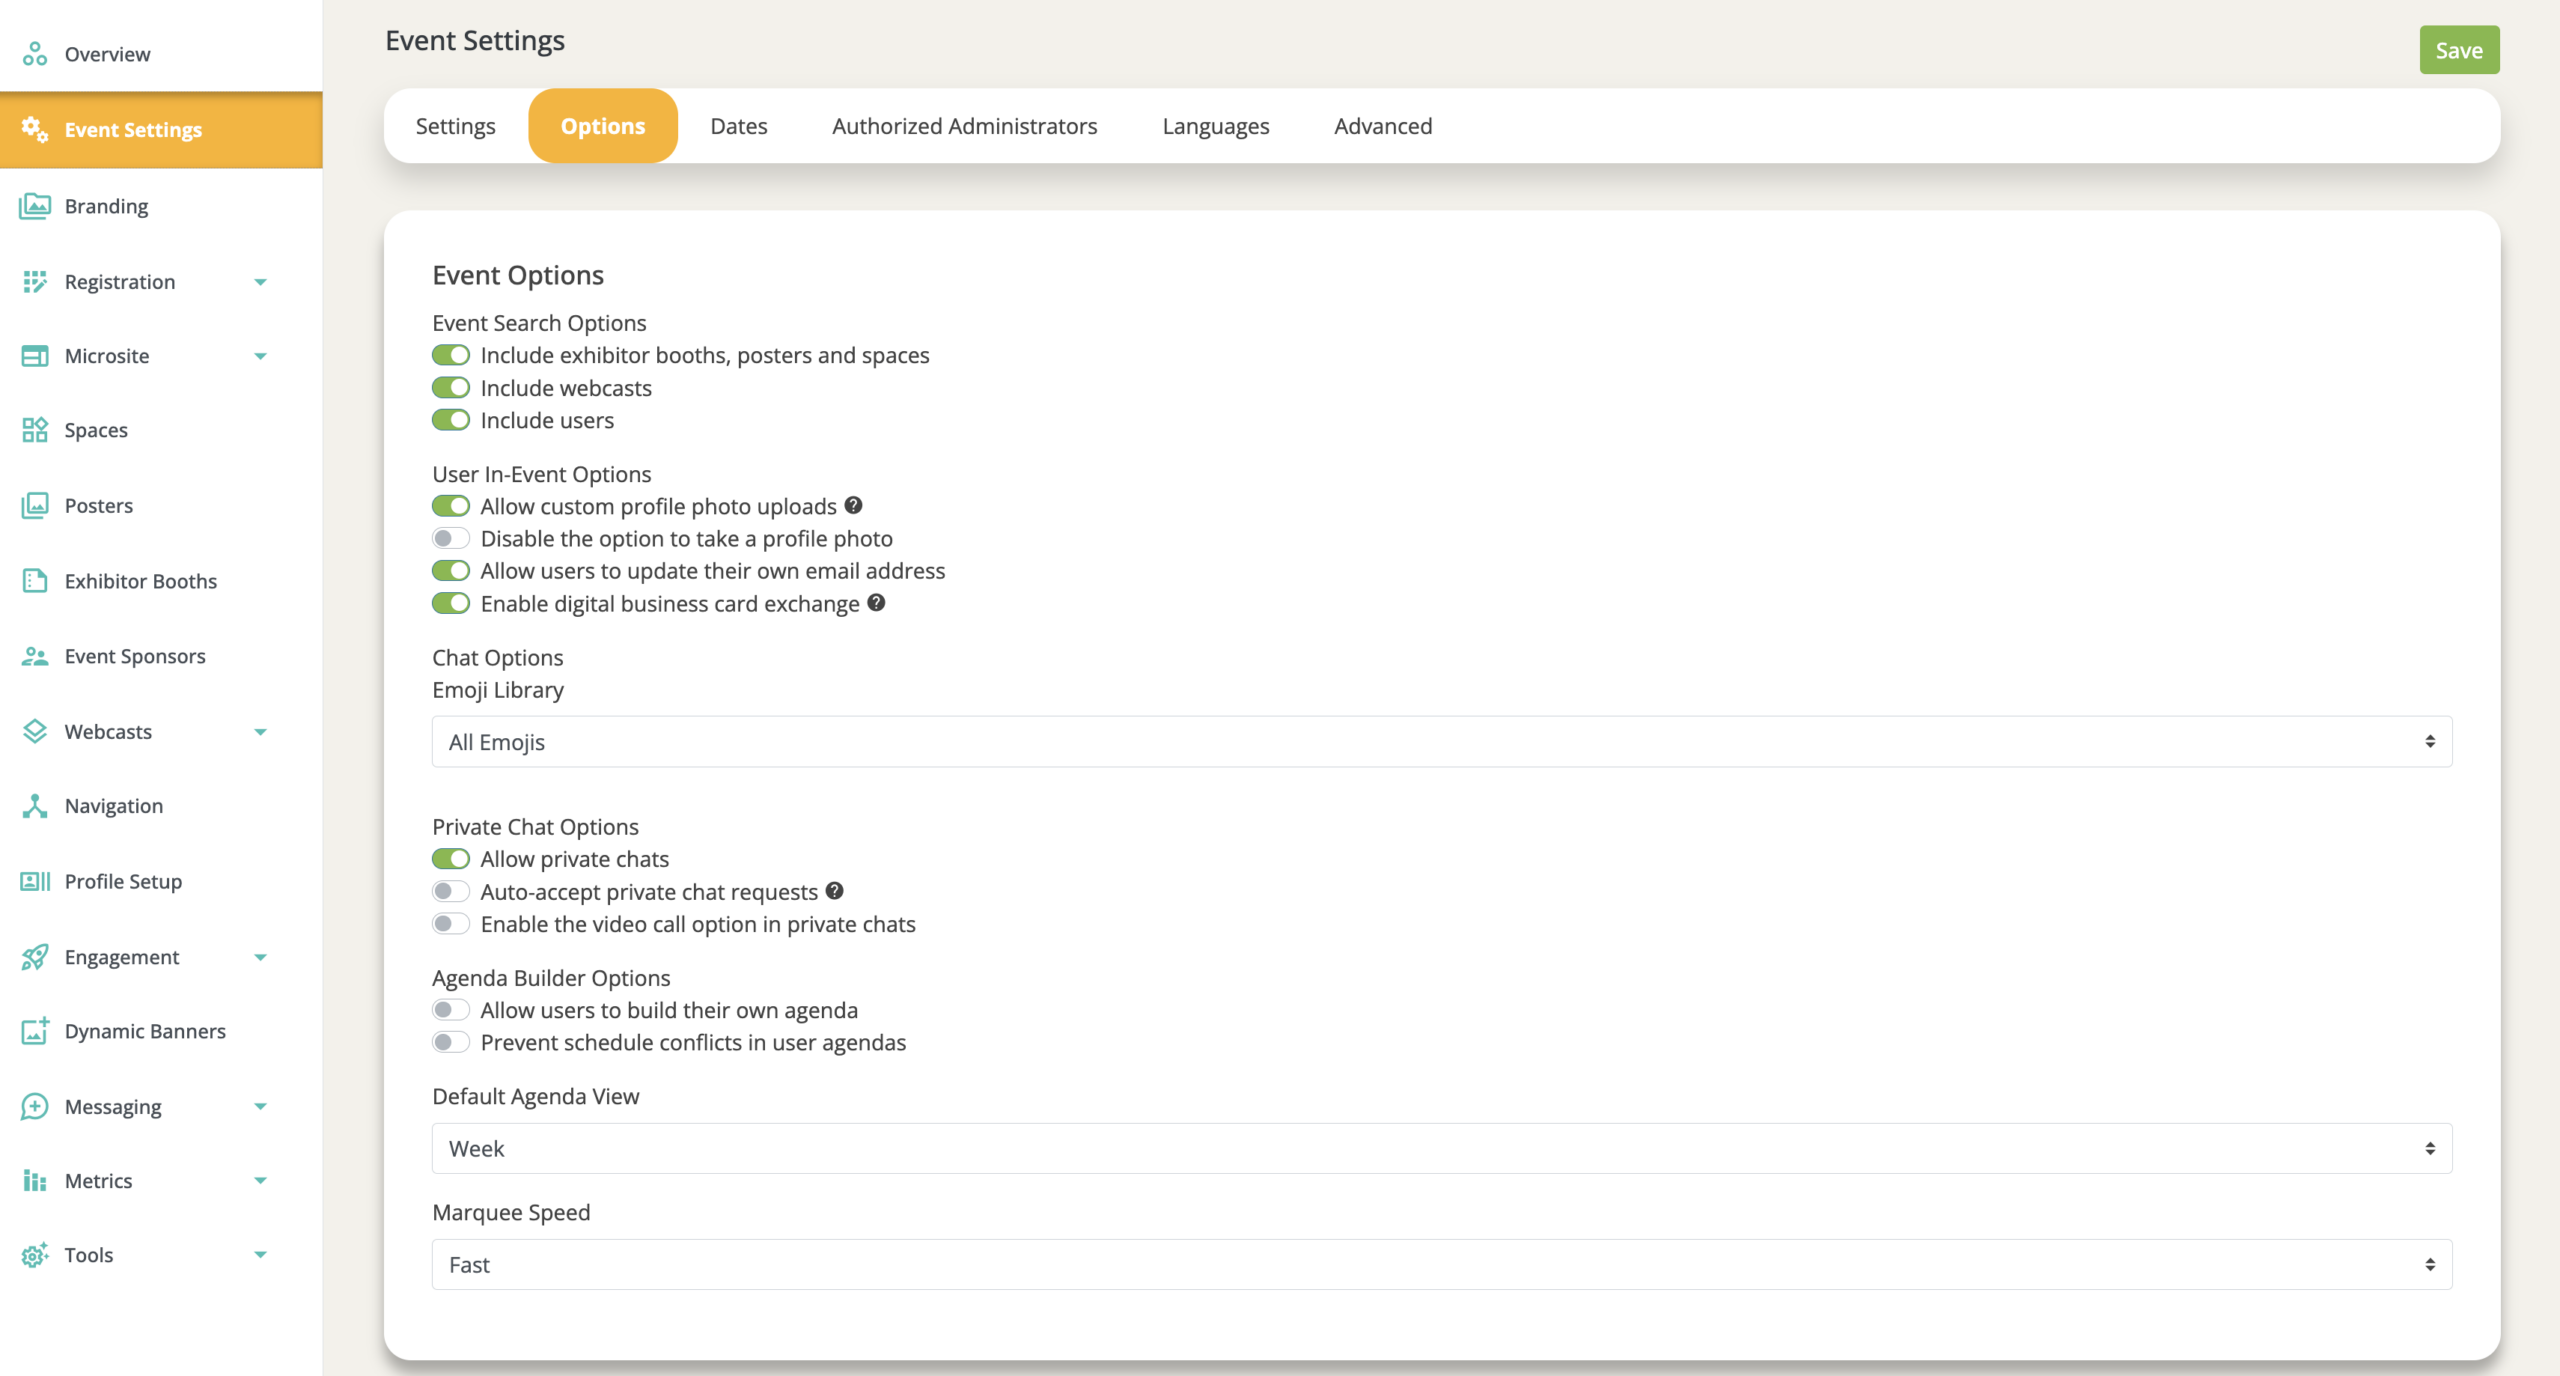
4. Toggle the following on or off:

Please note:
- Event Search Options (Defines what you see in the event search)
- User In-Event Options (Custom profile photo uploads and other options that give users more customization options within the event)
- Emoji Library: This defines the emojis available in chat across the event (group chat, webcast chat, private chat, etc.)
- None — Emoji reactions are disabled entirely for the event.
- Basic Set — A curated selection of 5 emojis: 👍 thumbs up, ❤️ heart, 😊 smile, 🎉 celebrate, and 😂 laugh. A good choice if you want to keep reactions focused and fast.
- All — Full emoji access is enabled. This is the default. Explicit and inappropriate emojis have been removed from this set regardless of selection, so you don't need to worry about moderation.
- Agenda Builder Options (If you want to limit the items that users are able to add to their agenda, etc.)
- When enabling the agenda builder in your event, add “My Agenda” as a navigation bar item for your attendees.
5. Set the following:
- Default Agenda View
- Marquee Speed
6. Click ‘Save’
7. Click the ‘Dates’ tab
*Admins should always set event dates.
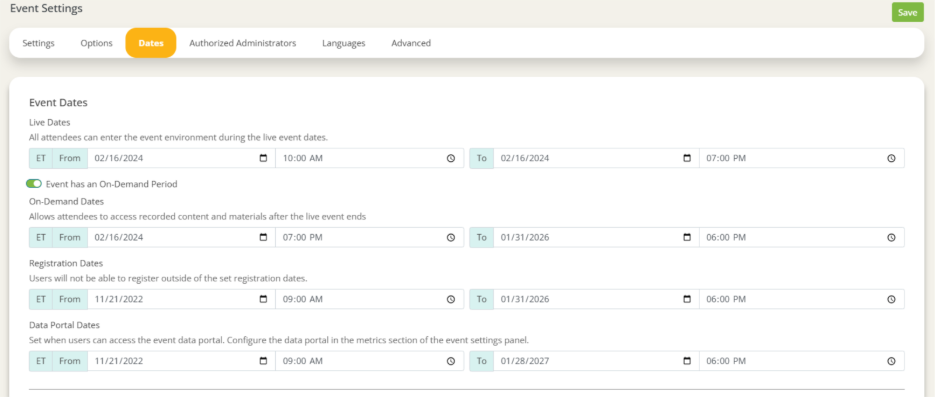
8. Set the following:
- Live Dates
- On-Demand Dates
- Registration Dates
- Data Portal Dates
- Preview Period (For setting up a testing period before your event goes live. Only authorized users can access the event during this time)
Preview Period Options:
- Toggle ‘Only admit booth and webcast staff during preview period’ to on or off. This setting will allow users added as staff in spaces, booths, or webcasts the ability to enter the event during the preview period. Learn more about adding space staff here: https://support.chati.com/how-to-add-staff-to-spaces-in-your-event/
- User Type allowed to access preview (attendee, exhibitor, any, etc.). This setting will restrict preview period access to a unique user type, which can be assigned during registration or manually for each user.
- Note: When using the ‘Only admit booth and webcast staff during preview period’ AND a specific user type selection, users can be staff OR have the selected user type to be admitted. They don't need to have both attributes.
9. Click ‘Save’
10. Click the ‘Authorized Administrators’ tab
*Select which account admins have access to edit this event. Until access is granted, admins will not be able to see or edit this event.
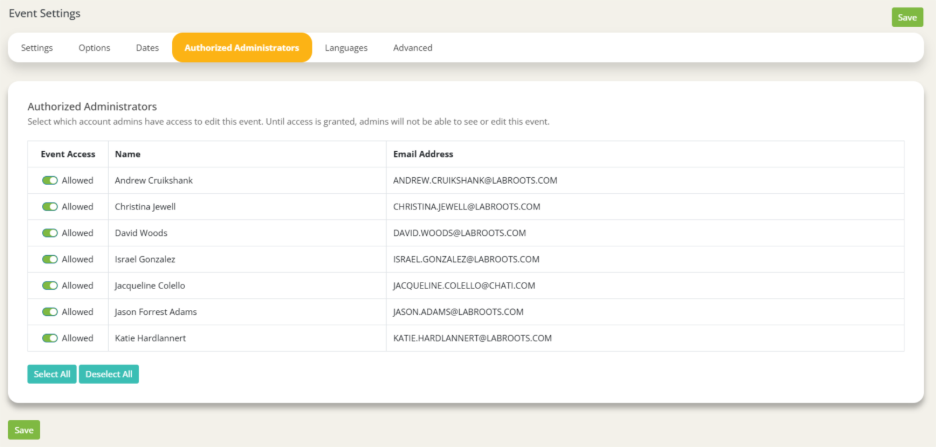
11. Toggle ‘Event Access’ to on or off for the account admins
12. Click ‘Save’
13. Click the ‘Languages’ tab
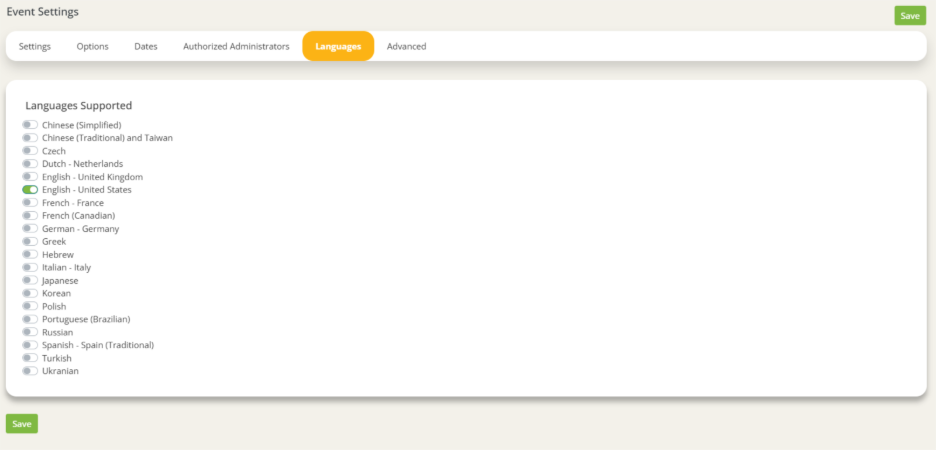
14. Select the Language you’d like
15. Click ‘Save’
16. Click the ‘Advanced’ tab
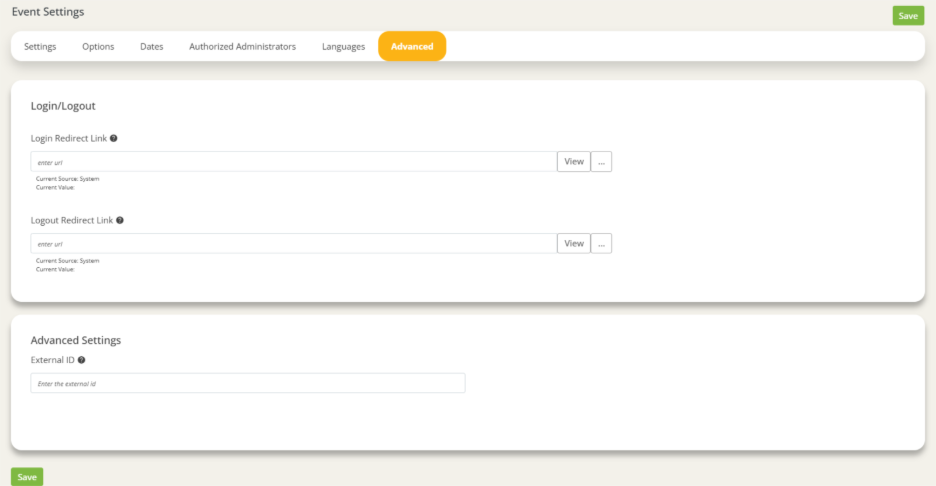
17. Optionally fill out the following:
- Login Redirect Link
- When users are brought to the event login page, they will be directed to this URL instead.
- Logout Redirect Link
- When users log out of the event, they will be directed to this URL instead of going to the event login page.
- External ID (for API integrations)
18. Click ‘Save’